There is a moment, usually about twenty minutes into a session, when you stop hearing a place and start hearing what is inside it. The wind becomes a low band of pressure. The road becomes a hum with a rhythm. A dripping gutter turns into a metronome nobody planned.
That shift is the whole point. Soundscape recording for ambient music is less about capturing a scene and more about collecting raw material you can stretch, layer and shape later. The kit list is shorter than most people expect, and what usually stands between you and a usable recording is wind, handling noise, and impatience.
Start With What You Already Carry
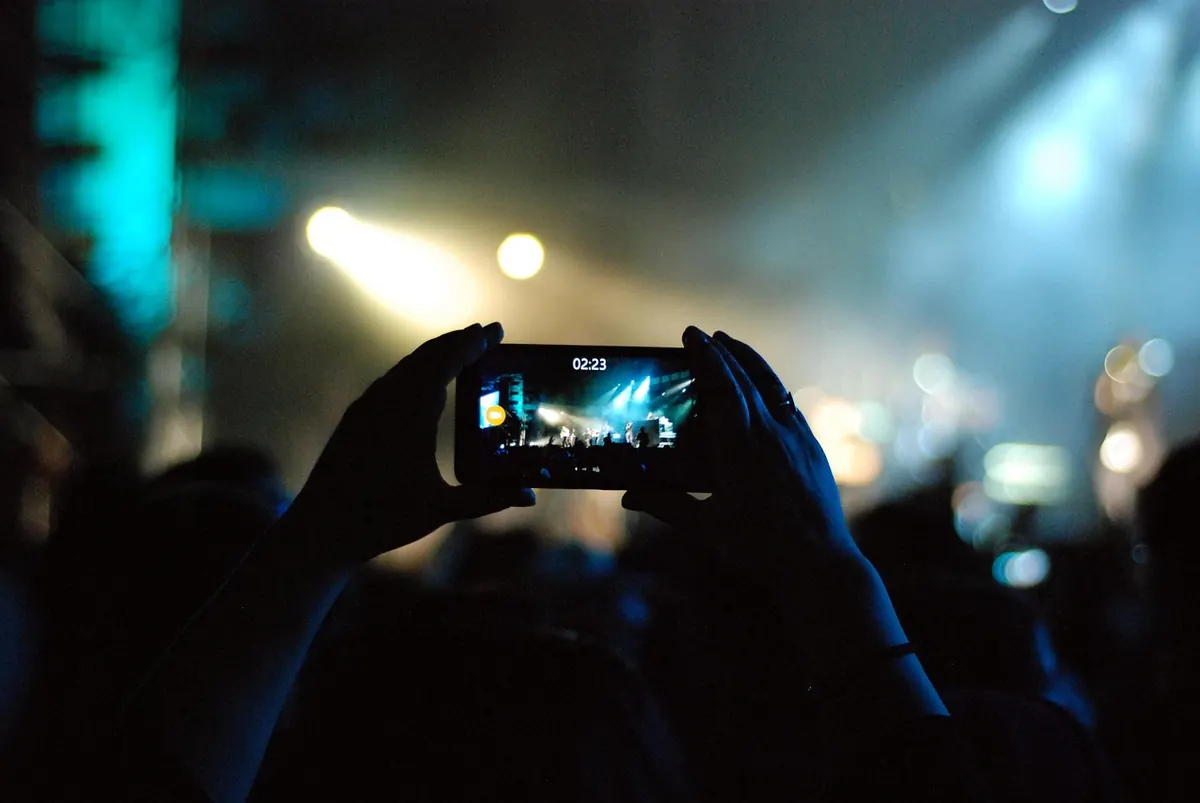
Your phone is better than its reputation suggests. Put it in a quiet corner, start a voice memo, and you will get something. For textures that will be pitched down, filtered and buried under reverb, that can genuinely be enough.
The moment you want control, though, a dedicated recorder earns its place: proper gain staging, real microphone inputs, and files that survive heavy processing without falling apart. You do not need an expensive rig. You need one you will actually carry.
The Kit Worth Carrying
- A recorder with at least one decent mic input. A handheld with built-in mics for ambience, plus a socket for a single better microphone when you want detail.
- A small condenser microphone. One good mono mic close to a source will often beat two average ones far away.
- Wind protection that actually works. Foam is a token gesture outdoors. A fluffy windshield over a foam layer is what keeps a gust from ruining a take.
- Closed-back headphones that seal. Earbuds in the wind tell you nothing useful about what you are capturing.
- Something to stop handling noise. A small tripod, a clamp, a beanbag. Handling noise has killed more takes than mediocre microphones ever have.
- Spare batteries and a spare card. Both, always. Cold weather drains batteries faster than you think.
- A notebook, or your phone's notes app. Details fade within a day, and unlabelled files are useless three weeks later.
Two extras that change what you can record
A short cable with a right-angle plug lets you mount a mic on a clamp on a railing, a fence post or a window frame without the recorder dangling in the wind. And a dry bag or a couple of zip bags cost almost nothing and save a session when the weather turns.
Levels and Sample Rates Without the Fuss
Set the recorder to 24-bit and 48 kHz and leave it there for a while. If you plan to slow recordings down dramatically, 96 kHz gives you more to work with when you stretch a file to half speed, but it doubles your storage for material you may never pitch down.
Aim for peaks sitting comfortably below the ceiling — somewhere around −12 dBFS is a sensible target. Never let anything touch zero: digital clipping is not a texture, it is damage, and it cannot be undone.
Turn off automatic gain, limiters and noise reduction if your recorder offers those options. They make decisions you will want to make later, in the edit. Recording quietly and lifting the level afterwards is safe at 24-bit. Fighting a compressor that pumps during a sudden siren is not.
Record for longer than feels necessary
Three to five minutes minimum for an ambience, and keep rolling through the quiet patches. The gaps between events are the material. A two-minute file with one good moment is harder to work with than a twelve-minute file you can carve up.
Where to Put the Microphone
Get close to what you actually want. For a specific source — a stream, a metal gate, gravel underfoot — a mono mic at roughly 30–50cm will beat a wide stereo capture you end up discarding. For a sense of place, back off and think about the pair.
A spaced pair, mics perhaps half a metre apart and angled outwards, gives a wide, enveloping picture that suits ambience beds. A coincident pair, capsules close together, gives a tighter image that collapses to mono politely when someone listens on a phone speaker. Both are useful; neither is correct.
Height matters as much as distance. Ear height captures a scene the way you hear it. Lower — knee height or closer — brings out footsteps, insects, water and the low end you miss when standing up. Keep the mics away from hard walls behind them, and avoid recording from under a bridge or inside a doorway unless that resonance is the point.
Urban Soundscapes Ask Different Questions
A city is not one sound but a stack of them. Record the same street at rush hour, late evening and early on a Sunday and you have three entirely different pieces of material. Then go back and isolate details one at a time: a pedestrian crossing signal, a shutter rolling down, footsteps on wet paving, the hum of a substation.
Wind is worse in towns than people expect, because rooftops, underpasses and street corners funnel it. Take the windshield. And be considerate: avoid recording identifiable conversations, move on if someone asks you to, and stay off private property without permission. Rules about recording in public vary between countries and between public and private spaces, so if you intend to publish or use recordings commercially, check what applies where you are and take proper advice.
Traffic rumble is the other urban constant. You can filter it out later with a gentle high-pass, but only if you captured it cleanly in the first place. Resist the temptation to fix it in the field.
Write It Down While You Still Remember
Before every take, say the essentials out loud into the microphone: date, time, place, weather, what you are hearing, and how the mics are set. It takes fifteen seconds and it survives in the file. Then wait five seconds before the sound you want begins.
Log the wind direction and temperature too, if you can be bothered. They affect how far sound travels and how much of the high end survives the journey. It is the sort of note that seems fussy until the day you are trying to recreate a session you loved.
Finally, record a minute of the location at its quietest. Room tone, distant air, the floor beneath everything. It is the most boring file on the card and the one you will reach for most often when layering.
Your First Outing
Pick somewhere familiar and give it forty minutes. Listen for five before you unpack anything — you are looking for the sound you would miss if you were not paying attention. Set up once, in one position, and record three takes: a wide ambience, one close detail, and one long unbroken stretch you resist stopping.
At home, copy the files somewhere safe, name them properly while the notes are fresh, and listen on speakers as well as headphones. Then start playing: slow a take to half speed, layer it under a drone, loop eight seconds of rain and see what happens. The recording is only the beginning.
Photo: SeppH / Pixabay